
Recently I had several recipes that called for heavy whipping cream. Yum! So naturally I bought way more than I needed……….what to do, what to do.
There are several delicious recipes that call for whipping cream, but because I’m a baker I am always in need of butter, and let me tell ya…….it ain’t cheap!
So short of buying a cow, I’ll do what I have to do to get it! 😀
It’s really very simple, all you need is heavy whipping cream, a mixer, and a jar. (The mixer is optional if you’d like to go total pioneer woman & rely on your arm strength alone).
 One quart of whipping cream should yield near one pound of butter. I only had about 3/4 of this carton left to work with, but I’ll take what I can get!
You can do this one of two ways, either place the cream in a large jar and shake by hand from start to finish, or use a stand/hand mixer to do the bulk of it for you. Shaking by hand is a great option if you have any pent up aggression that needs to come out…..😉

I chose the latter……..cuz I’m just in such a great mood
Just turn your mixer on high and let it do its thing.

First the fluffy whipped cream stage……..
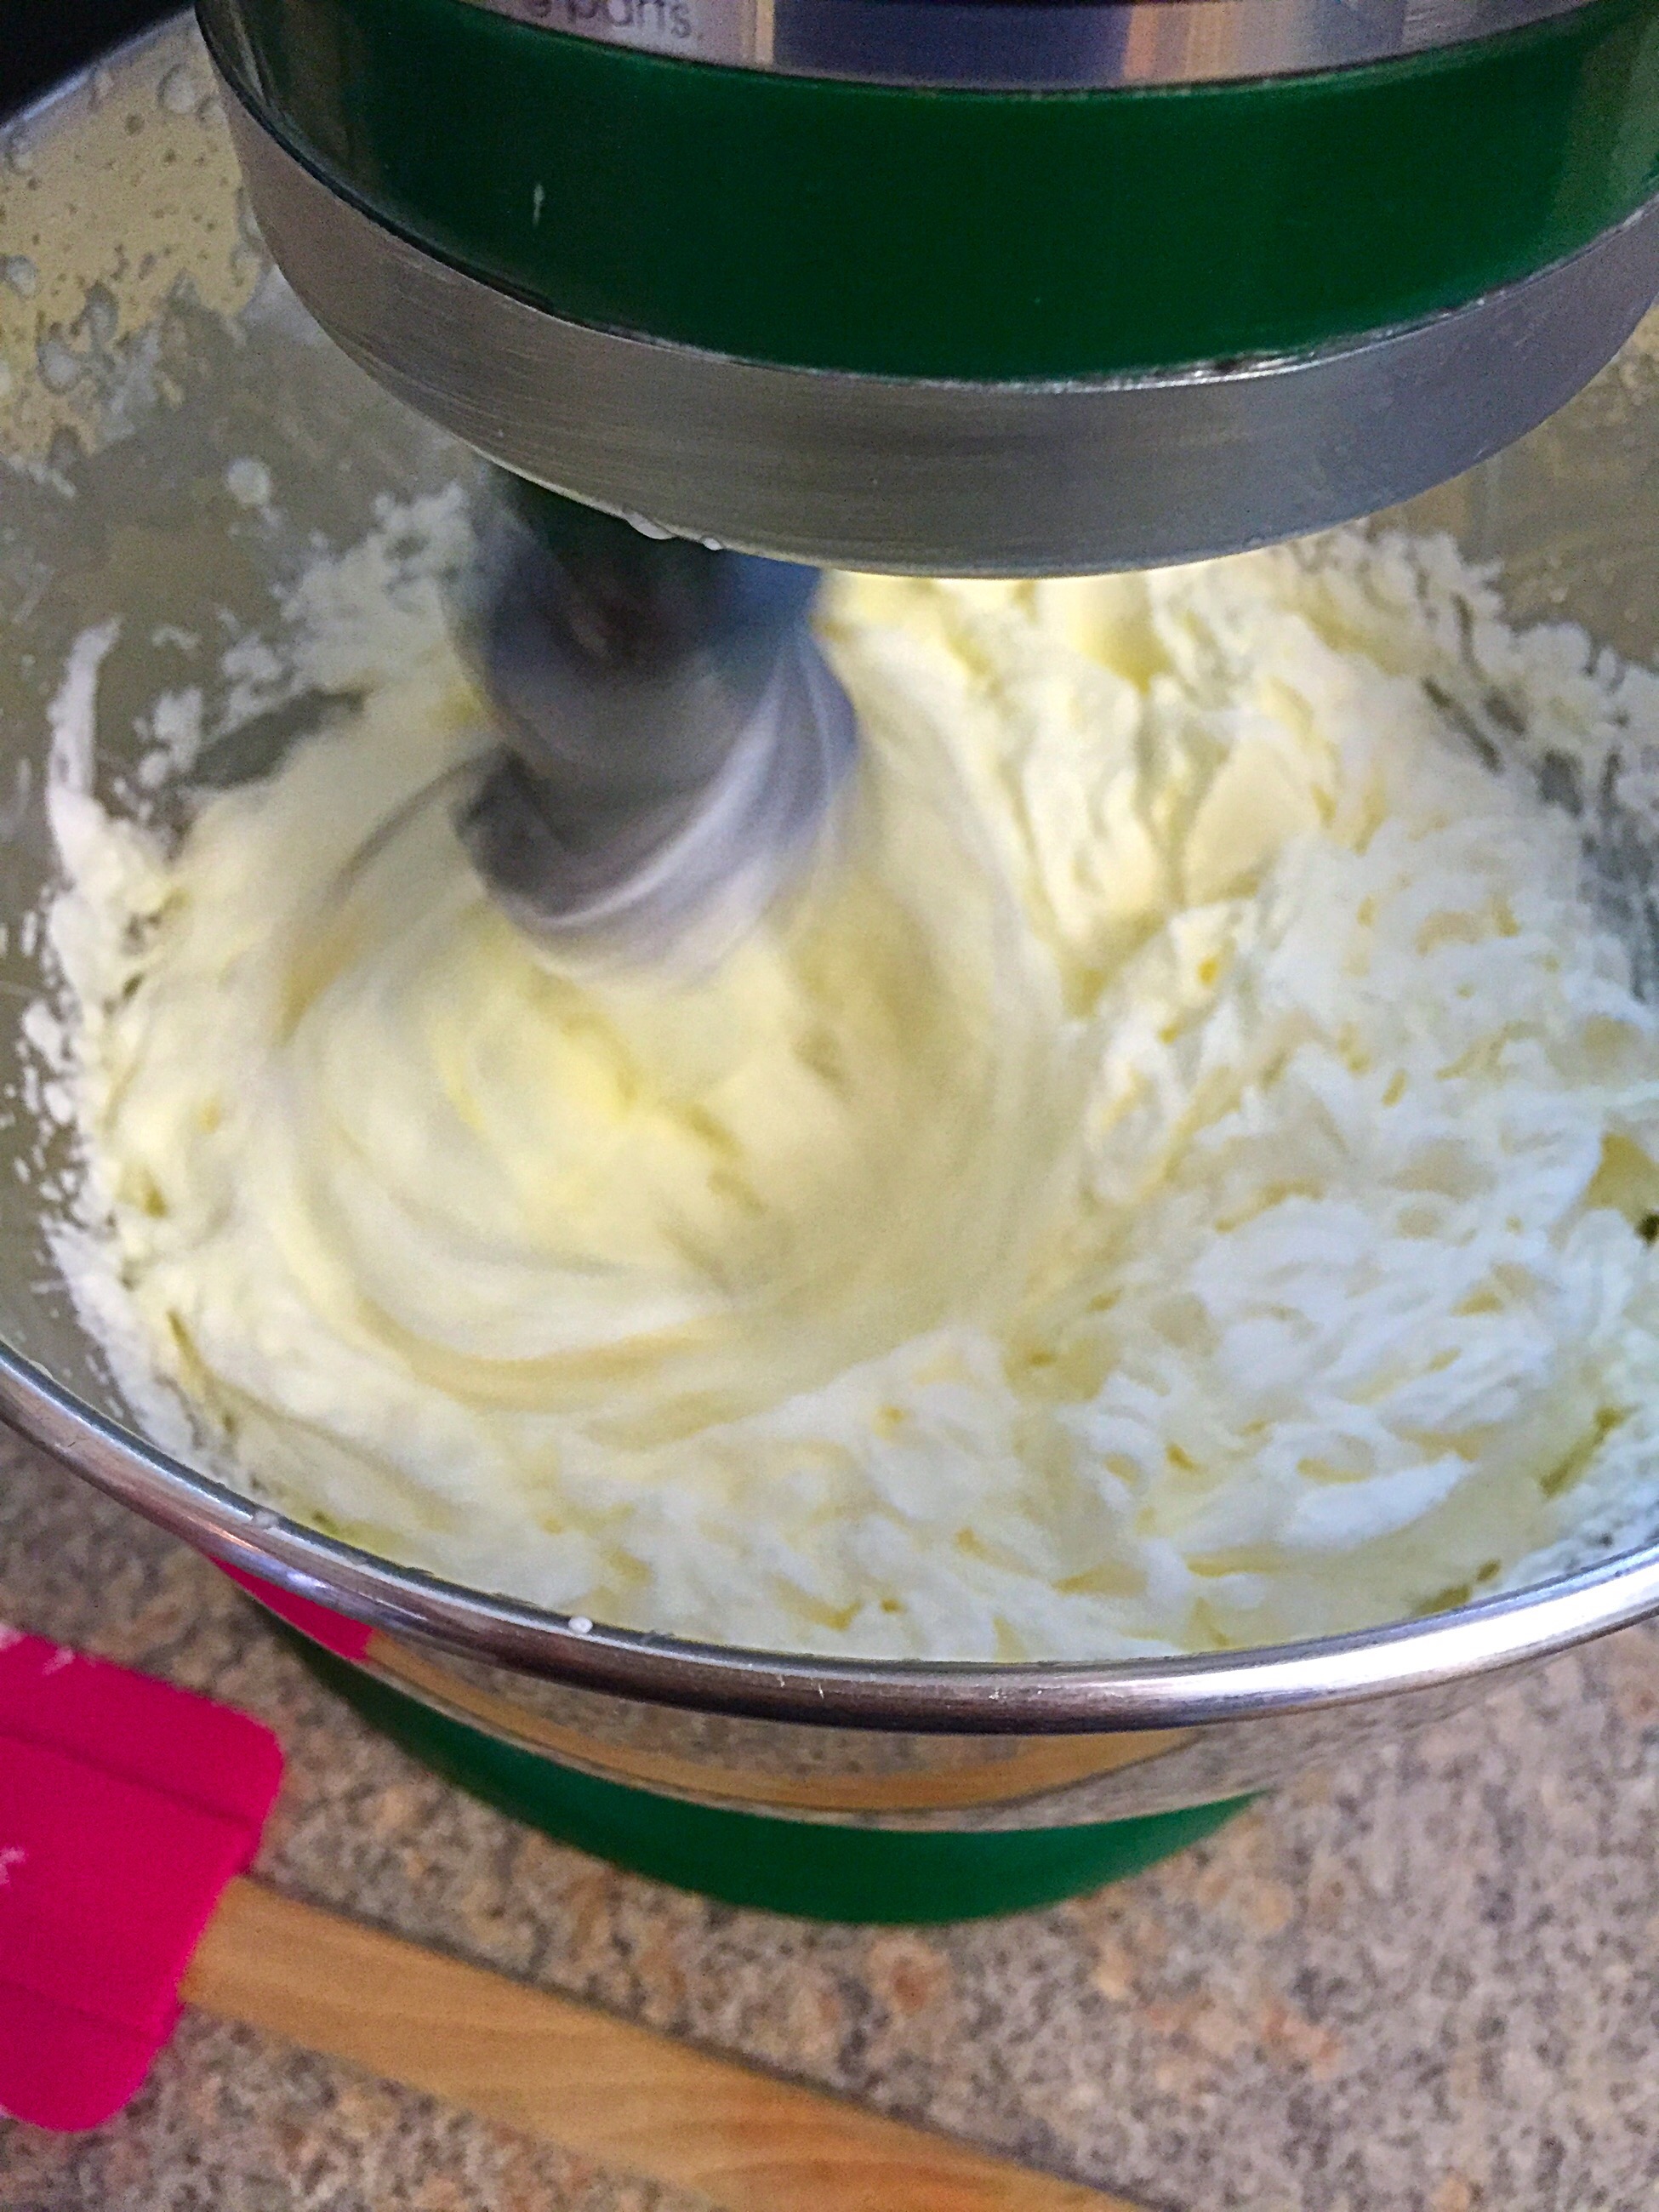
After a few minutes, maybe 5 or so, you’ll notice the look is becoming firmer and it also begins to yellow a bit.

Then it will begin to harden and separate. This is when I transfer to a jar. I just wouldn’t feel right letting the mixer take all the credit!

Shake shake Shake people!

As the butter begins to firm up and come together, the buttermilk begins to separate more and more

Keep draining the buttermilk into a separate jar.
Now is when you would add in salt if desired. (I use unsalted for baking) I would say 1/2 Tbs per quart. You could also add in some herbs for extra flavor!
The next step is to “wring out” your butter, just to get rid of any excess buttermilk hanging around. You can quite literally run it under cold water and squeeze, or wring it until no more liquid is being released. (This process is pretty messy, but oh so effective) Or, you can add cold water to a bowl along with the butter, and keep pressing it against the side with a spatula until the same result is achieved. You can guess which method I go with, seeing as though I didn’t have a free hand to document with…….
You’ll be surprised how much fresh buttermilk you’ll get! Perfect for cakes!!!! Or pancakes I suppose….😏.

You’ll also be surprised at how condensed your final product becomes! If you wanna be all fancy, you could press your butter into a silicone mold and then refrigerate to harden. Or you can just store it in a jar in the refrigerator. Try to use it up within 2-3 weeks (never a problem in this kitchen) You could also freeze it for up to 6 months.

There you have it, an easy peasy cute little jar of fresh butter! Don’t forget to add your born on date in case you’re forgetful like me.
Now what are you waiting for……..go get your pioneer woman on!
