Have you ever put the last decorative piece on your cake, when suddenly you were overcome with the urge to lean in and give it a lil kiss….you know, on account of it being so darn purdy?
No?????
Me neither! I mean, that would just be weird……phhhshshshshsh

Anyhoo….. 🙄 I might just think this cake is TOO…….DIE …….FOR. It’s a matter of personal opinion.
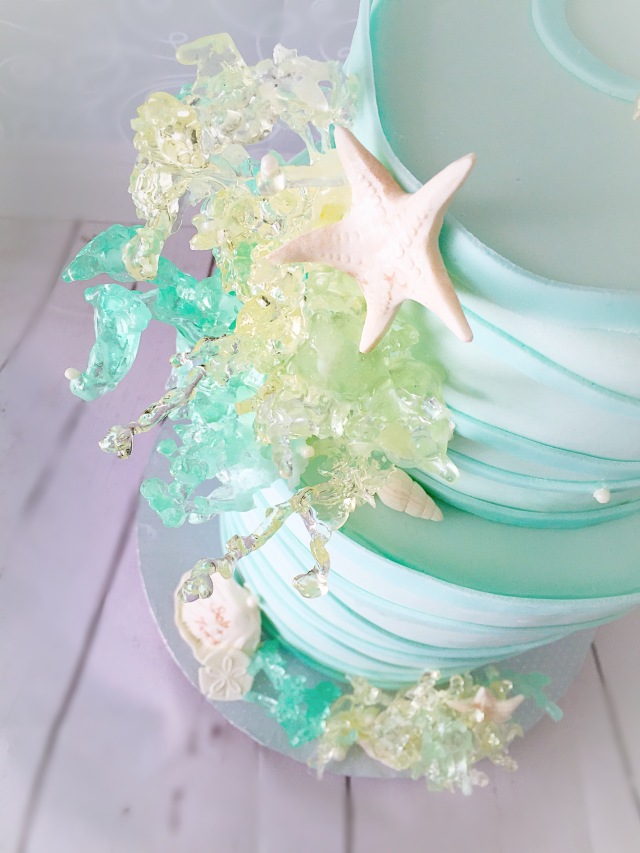
I have no doubt it has everything to do with the sugar coral that’s donning this beachy themed beauty. Sure the faint aquamarine color itself has a hand in taking my breath away……maybe the subtle nod to the ocean waves as well…….but I’m just gonna go ahead and give near full credit to the sparkly sugar crystal coral popping off the canvas, that makes my heart melt.
Now I am no poured sugar expert here……For Realz! So lucky me because this technique can be done by, well……anyone!
First of all, I used isomalt crystals. (A sugar substitute) You can buy them at your local cake supply store, or order them from Amazon. Duh!
Buying isomalt in crystal form is a wee bit cheaper than the “ready to melt” sticks available. (And they are available in just about any color you could want) They’re definitely not as cheap as working with actual granulated sugar, but I tend to wind up with 2nd degree burns and a huge mound of burnt sugar sadly, more often than I wind up with perfectly cooked sugar. (I should really take a class I suppose) So unless I’m feeling lucky, isomalt is the winner nearly every time. Here’s whatcha need:
- Large pot
- 2 cups (1lb) isomalt crystals
- 3/4 cup water (distilled if you have it, the finished product will be much clearer)
- Rubber spatula
- Candy thermometer
- Any silicone mold, sprayed with non stick spray for the leftovers
- Small tub of ice
- A large bowl of cold water waiting in the sink 😉
Combine your crystals and water. Give it a light stir, just until moistened.
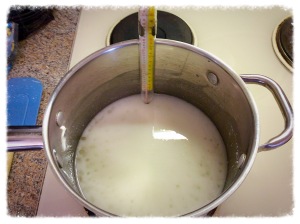
Place it on the stove over high heat, and insert your candy thermometer. Now wait……
Seriously…….that’s pretty much it.
If you’ve worked with sugar before you know you have to brush down the sides and keep your eyes peeled almost the entire time, while you heart races, and you pace back and forth in front of the stove….. (Or is that just me once again?)
With isomalt there’s really no need. If it seems to be bubbling more in one spot, you might want to give it a stir, but otherwise just leave it be until it begins to boil.
Once you’re boiling it won’t take long at all, as compared to sugar. Keep your eye on the thermometer, once it reaches 300 it’s going to go pretty quick. We need it to cook until it reaches 340. However, this means you want to remove it from the heat once it reaches around 330.
Upon doing so, immediately place the bottom of your pot into your waiting bowl of cold water….just until it stops hissing. Be careful here!
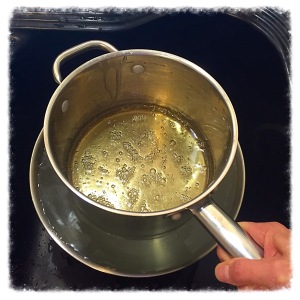
If you’re going to color your sugar, now is the time. You can use the same gel colors that you use for fondant and frostings. I would NOT use a water based coloring! They will only ruin the consistency of your perfectly melted isomalt.
At this point you can pour your isomalt into your waiting mold for use later, or you can use it immediately…..in a suitable sugar mold of your choice, or any other technique. Part of the beauty of isomalt is that once you’ve completed the above steps and it has hardened, you can store it for later use. All you need to do is melt your hardened pieces down in the micro for a minute and you’re ready to go !
But we are going to go ahead and make some gorgeous coral. Woot!
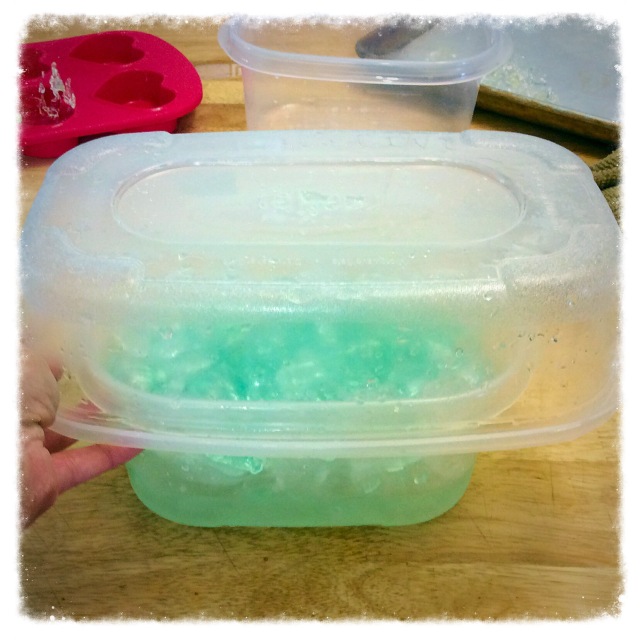
All you need to do it pour your melted isomalt over your tub of ice (yeah….that’s pretty much it) 😀.

Here….let me show you in color
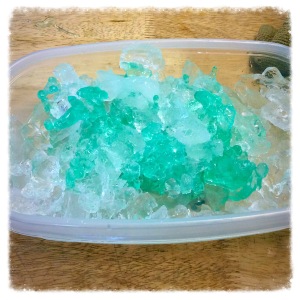
I found its easiest for me at this point to then flip the piece over into a slightly larger container. GENTLY!
The outcome at this point is up to you! I wanted large pieces of coral for my cake, so I let most of the ice just melt off so’s I didn’t damage anything, but you can also break them up into smaller pieces.
Just keep in mind, this really is as fragile as it looks so be careful! Although, if you do happen to mess it up you can just remelt your isomalt in the microwave and do it again!

 Sigh…….so pretty. Just leave them out to dry for a few hours.
Now I just need to take a photography class so I can learn to capture just how beautiful these pieces really are!
Have fun everyone! 😘


